HOW TO: Make Party Cakes Like A Pro
Jan 27, 2025It’s going to be a week of celebrations for me! Firstly, it’s my birthday on Thursday, and then on Sunday, it’s the 5th birthday/anniversary of my cake biz! I’m actually in shock that I’ve been in business for so long, and I know it wouldn’t have been possible without the support of my family, and most importantly, YOU! I am so grateful for each and every one of you, especially those that have been here from the beginning and stuck with me through all the ups and downs, and all the changes and growth these past 5 years. You are amazing, and THANK YOU! I can’t appreciate you enough!
Now, since it’s a week of celebrations, you can be sure there’s going to be plenty of cake! So for today’s blog post, I thought I’d share with you my top 5 tips on how to make party cakes like a pro!
1. It’s all in the baking
That’s right! After all, what’s the point of cake if it tastes bad? So, get the foundations right, and start with a good, trialled and tested recipe! And with that, make sure you stick to the recipe, and prep all the ingredients properly. This means making sure your ingredients are all at room temperature before you start, and measuring them out exactly! Baking is precise, and “winging it” or “that’s close enough” doesn’t usually work because even the smallest changes can end up with a very different result!
2. Make sure your cakes are completely cold before working on them.
Trust me, it just makes your work easier! Once the cake is baked, before doing anything with it (cutting, stacking, icing, decorating…I really mean, ANYTHING!), make sure it’s completely cold! This step is so important for so many things, like preventing the cake from crumbling as you cut and assemble it, reducing crumbs spreading through your buttercream, creating a stable cake base for decorating, and more! So even though it takes time, and you might be impatient to start, remember to stick your cake in the fridge/freezer to set before you do anything with it!
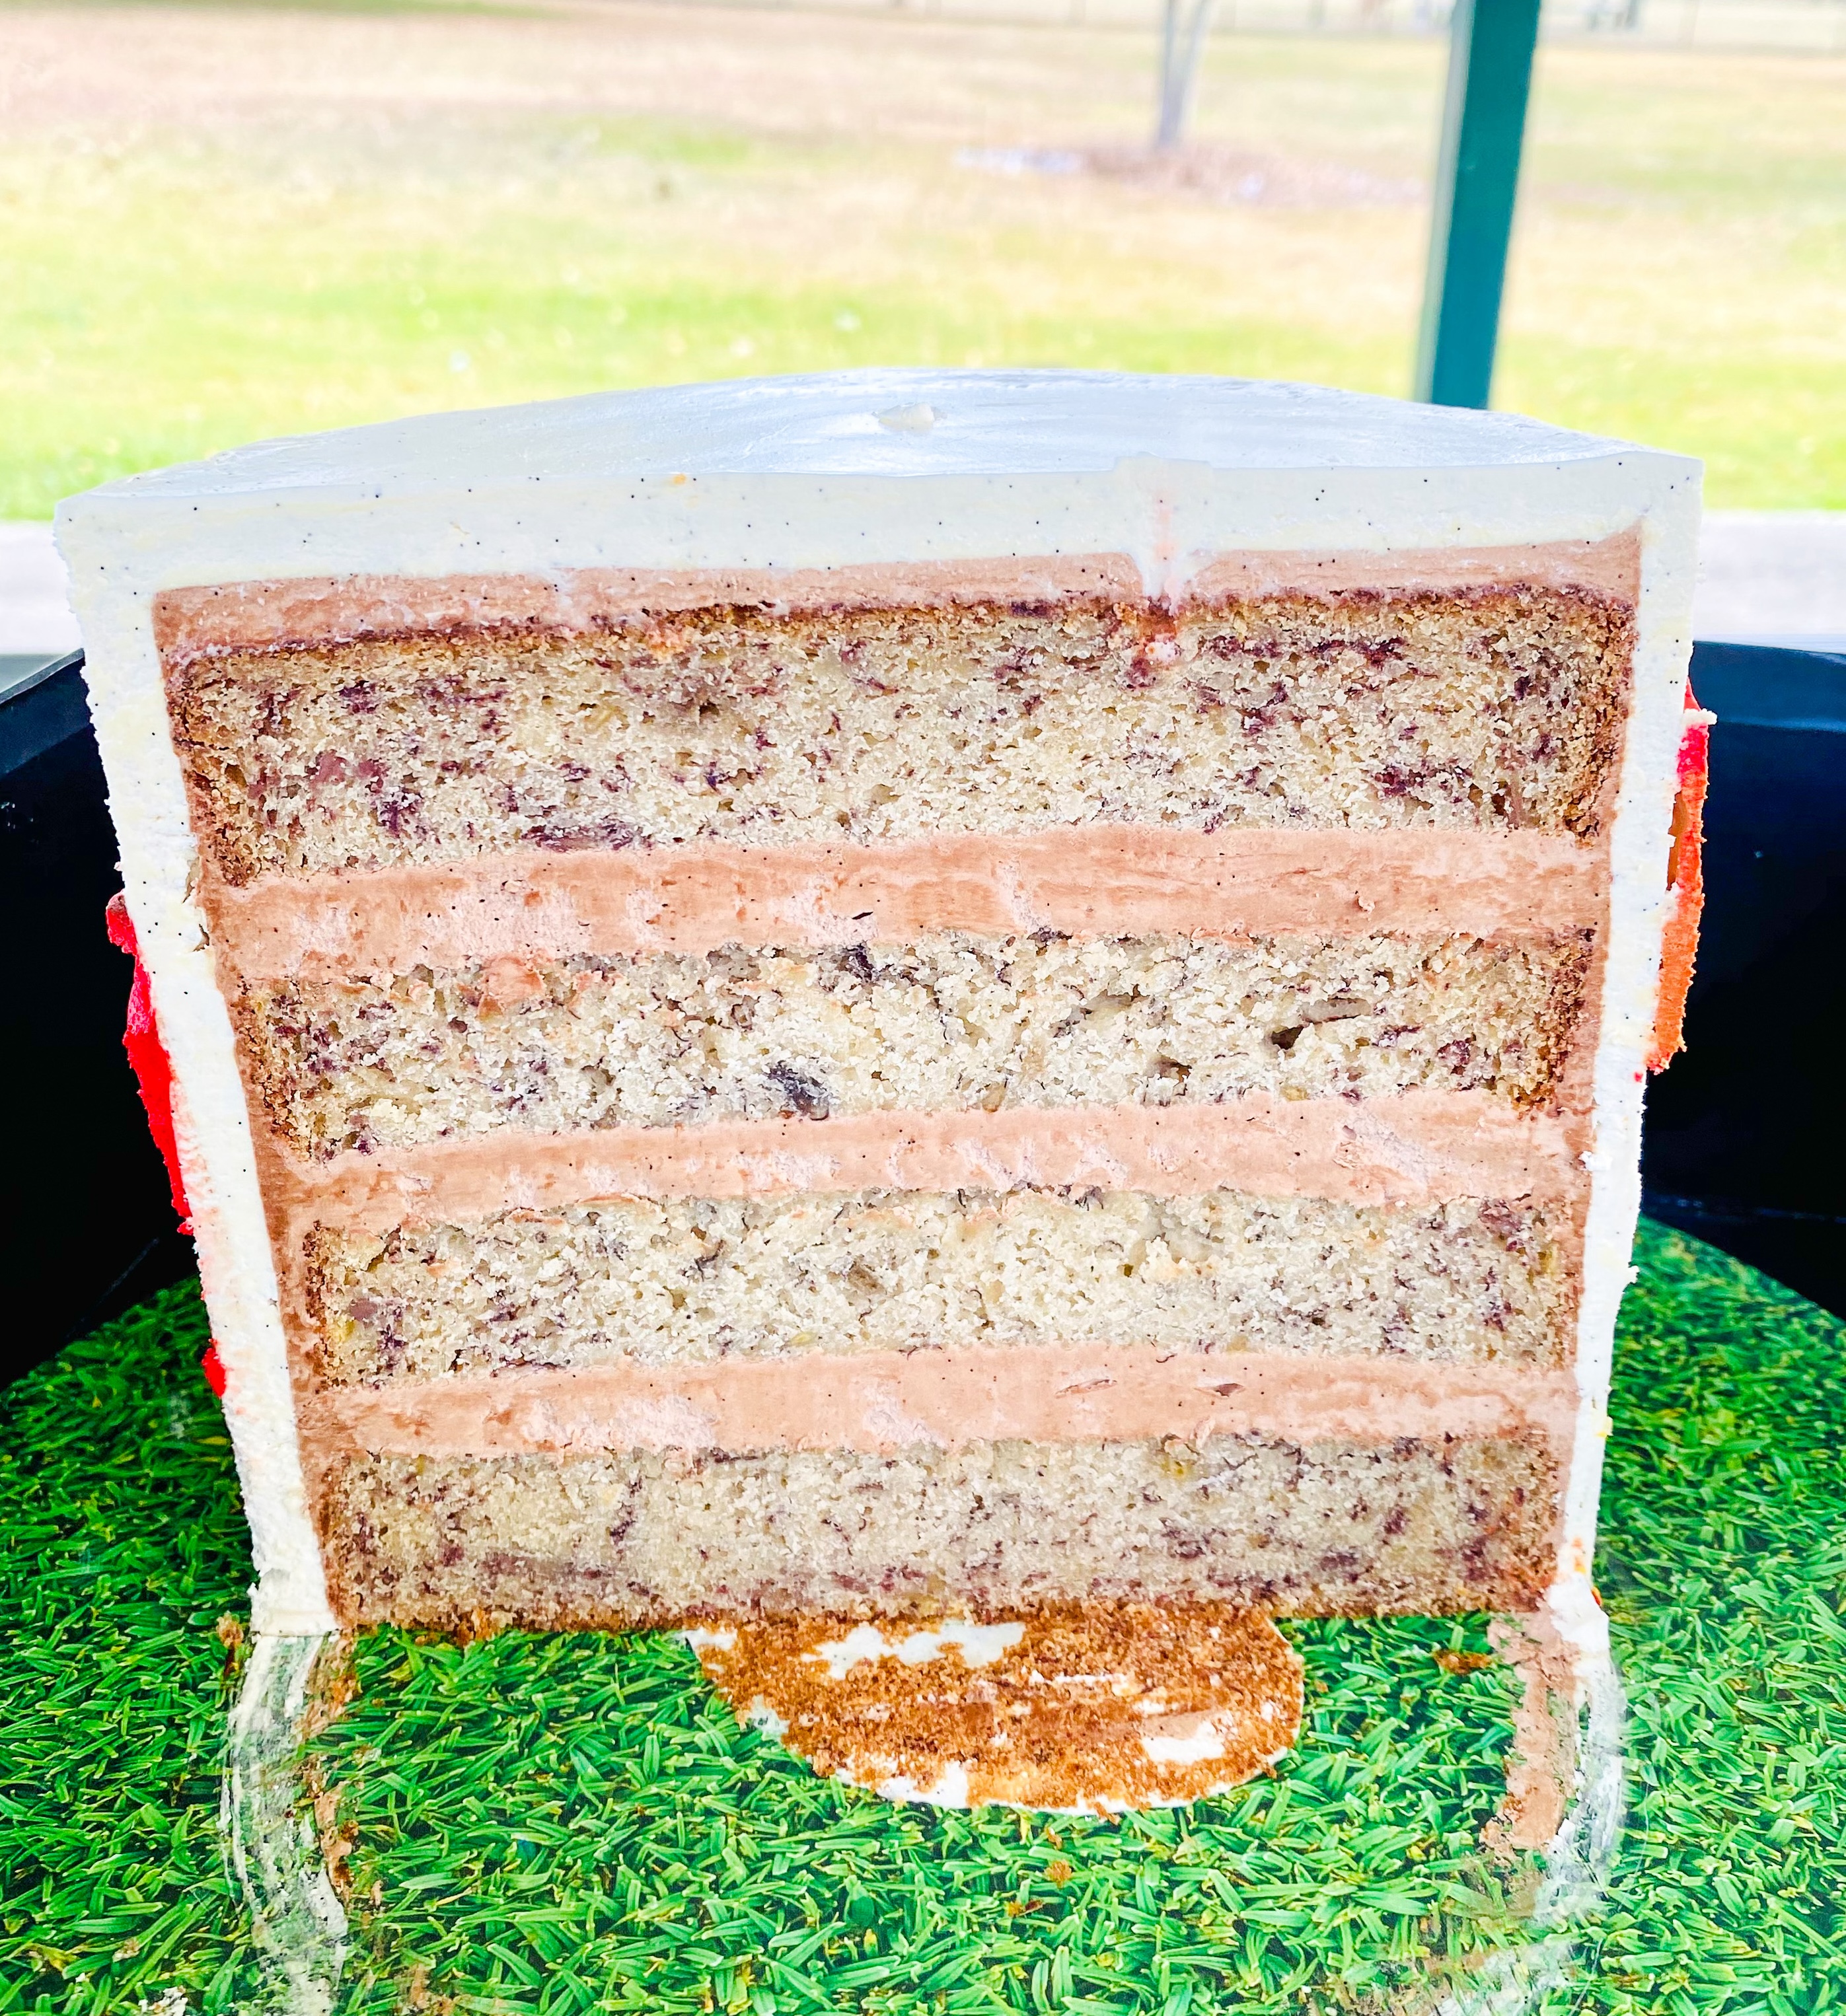
3. Cut the tops off all your cakes and make sure they’re even layers
The one thing that always impresses people (and will definitely set you apart and looking like a pro caker) is to have a stable, even/levelled cake. When you cut into your cake, there is nothing better than seeing beautiful, even layers of cake and buttercream. Honestly, every time I cut my cakes, at least one person always brings up how even everything is. Even my husband is still impressed to this day (and he’s not even a cake person, at all)! So firstly, cut off the tops of all your cakes so you have a flat surface to work with. Then, get that ruler out and make sure all your cake layers are the same height/thickness – if not, then, cut them to be (and if you don’t have a cake slicer/leveler, just use a long, sharp, and straight-edged knife)! And measure your buttercream layers in between as well, or use a piping tip to add them so there’s roughly the same amount in each layer!
4. Always apply a crumb coat
Once your cake layers are stacked and you’ve got a nice stable cake to work with, there’s one more very important step before you start decorating. Always, ALWAYS apply a crumb coat. A crumb coat is a thin layer of buttercream around the outside and top of the cake to “seal in” the crumbs, so it’s essential for that smooth buttercream finish. The crumb coat also helps your final layer of buttercream, or any piping work you might do better adhere to your cake. And as always, after you apply the crumb coat, stick it back in the fridge/freezer to set before you start the final stage of decorating your cake!
5. Use texture and embellishments
This is my favourite tip because it’s so simple and so handy for beginner decorators! I know that it's really difficult to get a truly smooth finish with your buttercream, and especially when you’re a beginner, it can be the one thing that gives away your ‘amateur’ status (not that there’s anything wrong with that – we all have to begin somewhere)! So, my biggest tip for that is to make the imperfections look like they were planned, and/or cover them up! For example, with a textured/painted/watercolour design, the buttercream doesn’t need to be smooth because the textures and different colours overlapping one another are what gives it beauty and life! Or if there’s a messy area on your final buttercream coat, or maybe you made a mistake while piping, then just cover it up with a topper or embellishments! Just remember, the trick is to make it look planned, like it was always meant to be there, so balance is key! ;)
With those 5 tips (and the extra ones I squeezed into them!), you can now set yourself apart from other amateur cakers, and wow all your party guests with your professional looking party cakes! Let me know how you go, and if you’re feeling brave, share the pictures with me! I always love looking at all your creations so don’t forget to tag me on social media @lynnscakecollective so I can show your cake some love!
Author

